skip to main |
skip to sidebar
Last week we tagged along with Chad for a business trip, and spent the week with Melissa, her husband and her darling Sophia.


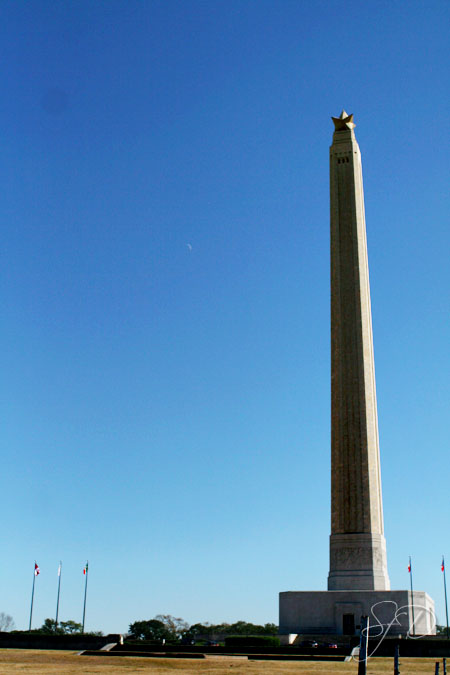
While there, I took advantage of our closeness to San Jacinto, and took the girls on an exciting field trip to this historic battleground where Texas won it's freedom from Mexico. We had literally just studied this battle the week before in our history studies. History came to life for us on this trip!
the San Jacinto Monument
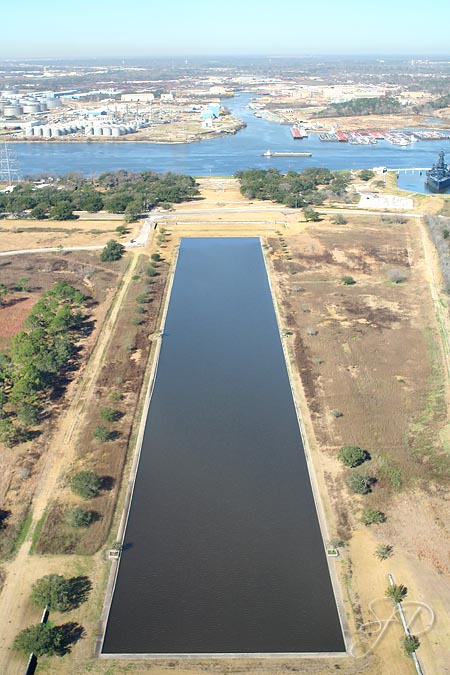
view from the top of the monument, of the reflecting pool on the monument grounds and the Houston Ship Channel
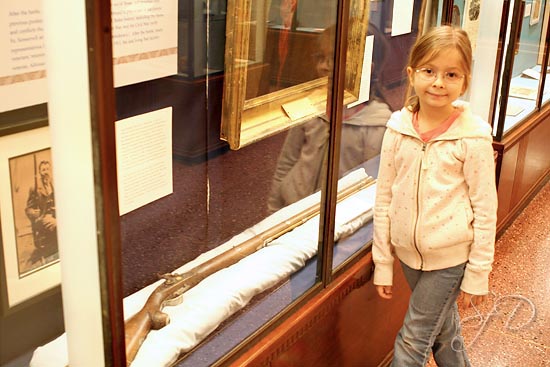
Claire and a rifle that belonged to Sam Houston, as well as two US presidents, and was used in the battle at San Jacinto
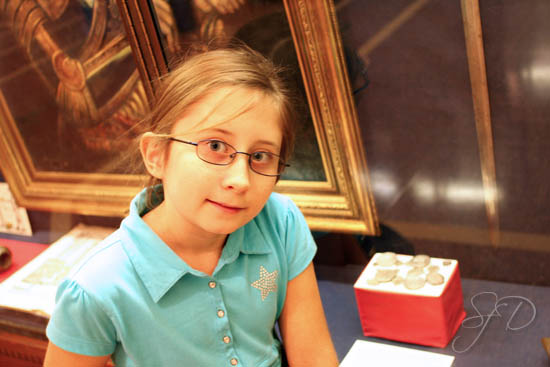
Nicole... behind her on the red box is a handful of Spanish silver coins from the age of exploration - around 500 years old
Ever been to a Six Flags amusement park? Did you know that the original Six Flags park was named thus because of the six flags that have flown over Texas? Spain, France, Mexico, Republic of Texas, United States, and the Texas State Flag... here are the latter three:

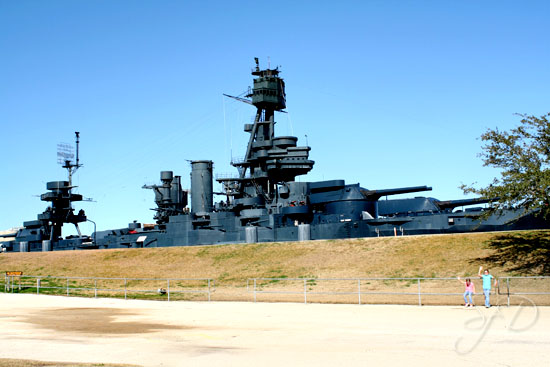
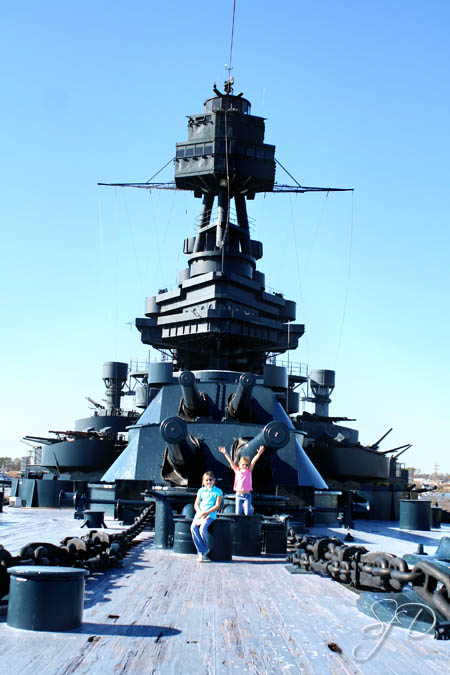
On the same grounds as San Jacinto is the last remaining US battleship that served in World War I and II!
Battleship Texas

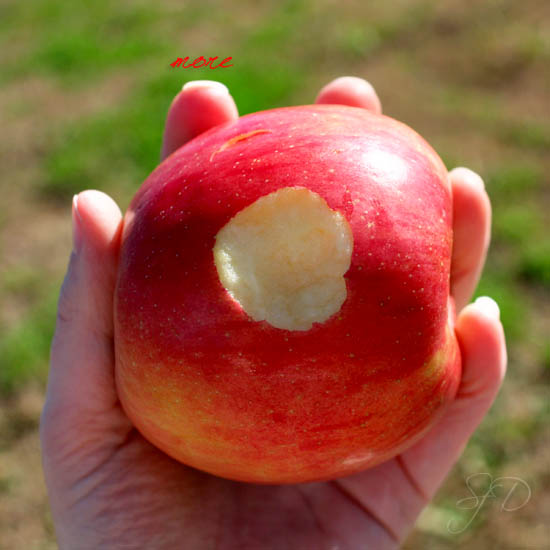
just one little bite...
continuing Self Portrait Challenge's "Flashback 2009" theme,
I've used the following themes from last year in this shot:
seven deadly sins - lust (this was a push for me, I would not normally consider using this theme, but I felt this fit without being weird for me)
red
tiny words
headless
till I get to listen to this!

(coming February 9th - yay!)
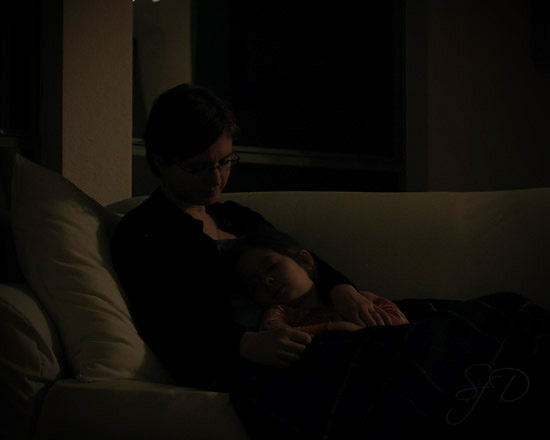
There are times I envy her innocence.
Yet I don't envy her age, knowing how formidable and immense growing up can beeven under the best of circumstances.
This is for Self Portrait Challenge's "Flashback 2009" theme, using at least two of last year's themes in each submission...here I've covered:
childhood
seven deadly sins - envy
low key
For January, the Self Portrait Challenge theme is "Flashback - 2009".
We are challenged to incorporate into each photo at least two of the themes from last year. You'd think that would be easy, but I'm finding it is, well, a challenge!
Here's my first contribution:
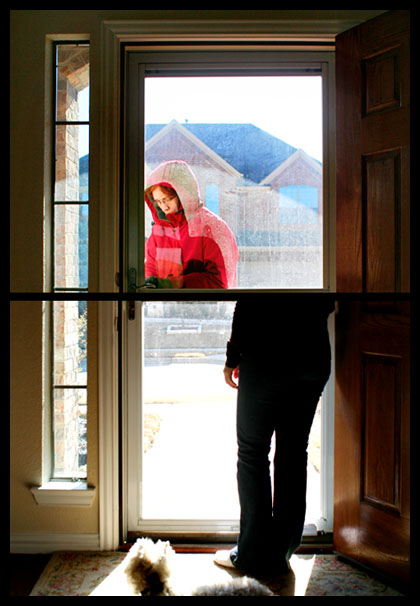
I can't decide which I like more... the unusual cold weather we're having in my part of the country, or enjoying the coziness of my home.
included themes from 2009:
diptych
headless
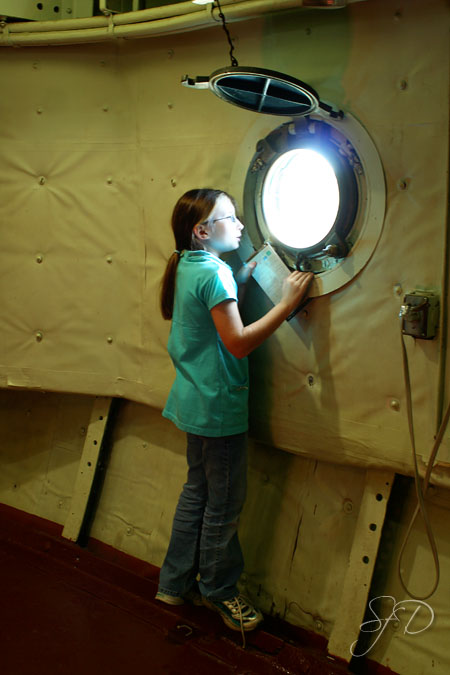
portals
hats
red
I'm not a fan of the Valentine decorations that can usually be found in stores right now. Cupids, pink & red plastic hearts - no thank you. However, I have wanted to have something to decorate for Valentines Day...
I realized recently that I had been going about it the wrong way! I like decorating with vintage things, so why not apply that to Valentine's Day as well?
This weekend I finished putting together a Valentine garland to hang on my mantle.
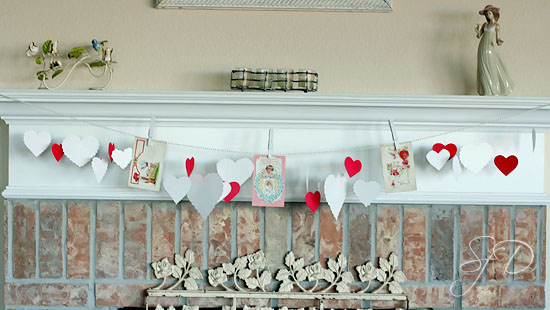
If you like it, then keep reading!
I'm going to tell you how I did it so you can do something like it too.
Vintage Valentine Garland Tutorial
Supplies:
3 vintage valentine postcards
try on etsy, in antique malls, possibly ebay...
strand of faux craft pearls (the kind that come in a roll)
you could also use ribbon or yarn
clear packing tape
3 clothespins
white spray paint (matte)
graduated heart cookie cutters
or
a heart template printed out at varied sizes... you can copy/paste the heart outline into a Word document, then enlarge or shrink it with the tabs on the edges of the image, then repeat three more times to get 4 different sizes of hearts on one page
several sheets of white and red cardstock
decorative scissors
regular scissors
white sewing thread
elmer's glue
Step One
Lay the clothespins on some newspaper and paint with spray paint. Do this in a well-ventilated area. Use light coats, and let each coat dry before turning to spray another angle. Let dry for an hour or so.
Step Two
Trace 16 to 20 hearts on white cardstock, using the different sizes of cookie cutters/templates. Cut out with the decorative scissors.
Trace 8 hearts on red card stock, using a smaller cookie cutter/template. Use regular scissors to cut them out.
Lay all hearts out on a table. Cut 10" pieces of sewing thread for the number of hearts you cut out. Put a dab of elmer's glue at the top center of each heart. Put the end of a piece of thread in the glue dot, ensuring that it lays flat against the cardstock. Let dry until all glue dots become clear.
Step Three
Using a small piece of packing tape, affix one end of the faux pearl strand to the top of your mantle. Drape it across the front of the mantle, tape the end of the correct length to the other end of the mantle, and then cut off the excess.
You could always use tacks, nails, or hooks to hang this up, I just don't like putting extra holes in the wood of my mantle. If you're hanging this somewhere else, like a wall, then tacks or hooks would be a better option.
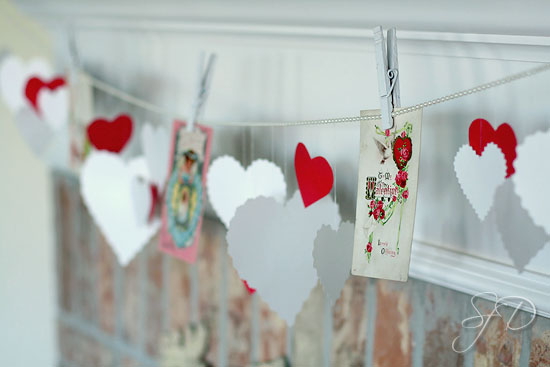
Step Four
Hang up the Valentine postcards with the painted clothespins. Start with the one in the center by eyeballing up where the center is. Then hang the other two on either side of the center, spaced evenly.
Step Five
Divide the hearts evenly up into four groups - each group with at least one large white heart, several of the smaller sized white hearts, and two red hearts.
I've given you lots of extra length with the threads attached to the hearts, for easy manuevering and for adjusting to different lengths for each heart. I hung different hearts at different lengths for a casual, varied look. Have fun with it, don't make it too complicated for yourself.
I used a simple double knot to tie the thread when I was sure the placement and length was what I wanted.
Start with the largest white heart cutouts, tie them onto the pearl strand, spacing them evenly in the four spaces (two fall between the Valentines and two are on the outsides past the Valentines.) Then add the next largest size, then the smaller sizes. Next, tie the the two red hearts at regular intervals in the four spaces. Cut the tail ends of the threads within 1/4" of the knot.
Step Six
Step back and take a look at your beautiful garland!
Please take a picture and share it with us by leaving a link in the comments so we can see your work - I'd love to see!

I just had a thought -
if I roll this up carefully after V-day and store it, it will be easy to put back up next year...
I have this huge wall in my living room that I've been staring at off and on for the last year, trying to figure out what to put there to fill it in.
I found this old chippy iron piece at a flea market recently - it's 80 inches long!
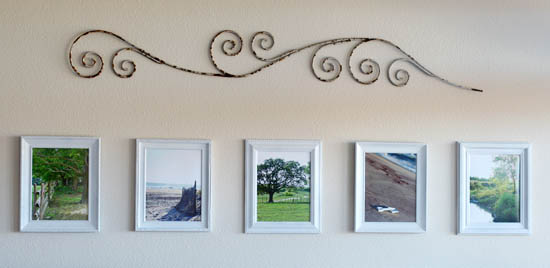
The 11x14 frames are all different, from Goodwill for $4 each. I spray painted them white, and added photos I've take myself - three tree shots and two beach shots.
Next up, I'm planning to paint this wall with pale turquoise...
I tried both of these recipes this week, and they were both really great, so I thought I'd share them! Who doesn't love an easy, warm, slow cooker meal on a cold day?
Baked Potato Soup
8-10 baking potatoes, peeled & cubed or chopped (I used this to make quick work of this job; it didn't remove all of the peel, but we like it that way)
1 onion, chopped
1 32 oz. box of chicken broth
1/2 stick butter or margarine (you can leave this out if you're watching calories)
1 c. milk (skim works, 2% or whole or even heavy cream make it richer, or you could use a can of evaporated milk)
baked potato toppings - chopped chives, crumbled bacon, shredded cheddar cheese, sour cream, etc.
Put potatoes, onions, broth and butter in the slow cooker, cook on low for 6-7 hours. Use a big spoon to ladle most of the potatoes into a food processor or blender (it's not necessary to get every last bit of the potatoes, or the broth) - blend or process until smooth. Pour back into the slow cooker, add the milk, stir until everything is blended well. Put the lid back on and cook for another hour, or until bubbly and hot. Serve with toppings.
Frito Pie
2 lb. ground beef
1 can black beans
1/2 c. chopped onion
several cloves of garlic, pressed or minced
1 4 oz. can chopped green chiles
1 Tbsp. chili powder
1 c. water
A bag of Fritos
Shredded cheddar cheese
Place the beef, beans, onions, garlic, chiles, chili powder, and water in slow cooker. Cook on low for 6-8 hours. Drain. Serve over Fritos, topped with shredded cheddar (salsa and sour cream are also good toppings!)
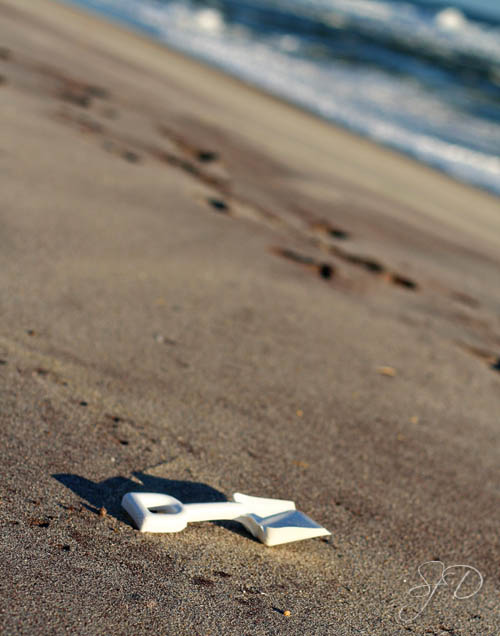
I've finally had time to look through all my photos from our Thanksgiving trip to Long Island. It wasn't too cold yet that week, so we spent an afternoon at at Robert Moses Beach, walking and looking for shells and yes, the girls even built a small sandcastle.

Funny how even though this was lost to someone, it is really right at home.


