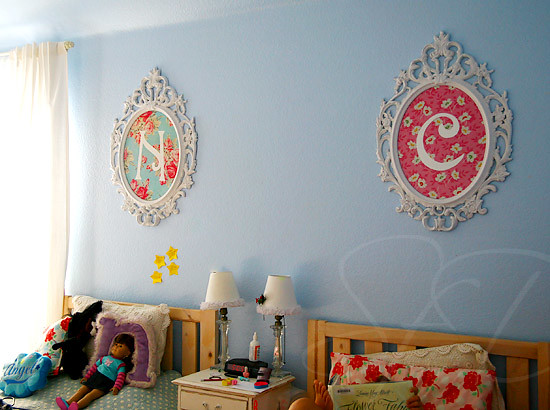
How I did it...
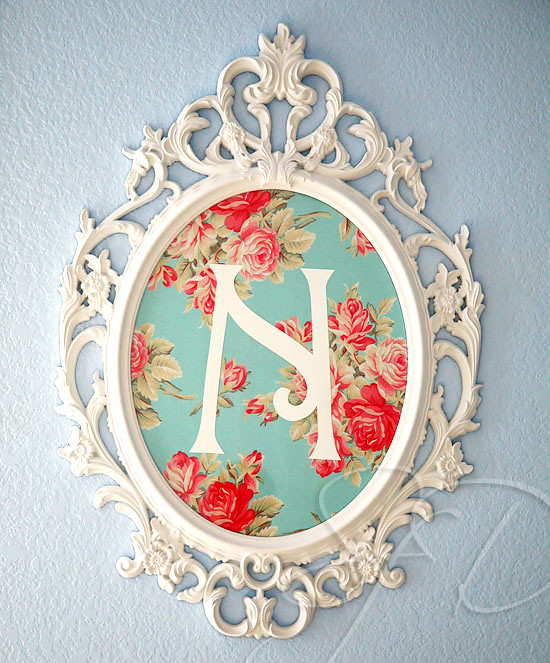
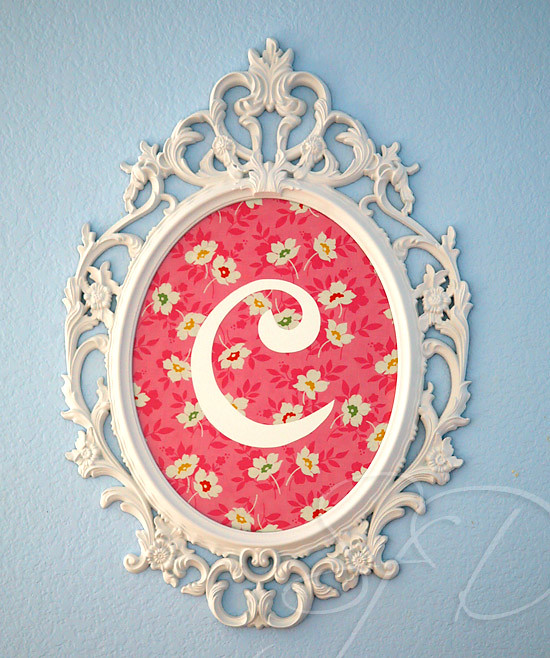
The frames are from IKEA... one can of white spray paint later, and we were on our way!
I used a rotary cutter w/ mat and the cardboard insert from the frame as my guide to cut the background fabric which came from my stash.
Putting the glass back in the frame after painting proved to be the most difficult part of the job. Who knew fitting an oval piece of glass into an oval frame had to be exactly right or it wouldn't work? I cut my finger, so be careful!
The letters were the most complicated part. There may have been an easier way to do this, but I had to use the resources available to me, so here's what I did:
- I typed the letter into Word with the Parisian font (free download available here)
- changed the page layout to .5" on all sides, with 11x14 paper size
- changed the font size to 800 for the letter "N"
- changed the font size to 1000 for the letter "c" (I used the lower case "c" in this font because I liked how it looked better than the capital option, but this made it smaller than the capital "N" so I had to compensate by using a larger font size)
- held a piece of regular 8.5x11" typing paper up to my screen and gently traced a letter onto it with a pencil, then repeated with a new piece of paper for the other letter
- cut each letter out as cleanly as possible with sharp scissors
- turned each letter upside down on white cardstock, and lightly traced it (upside down so that trace marks won't be visible on the right side of the letter when finished)
- carefully cut out the cardstock letters - done!
I attached the fabric to the cardboard insert, and then the letter to the fabric, using (gasp!) a glue stick. It worked, didn't make anything pucker, and allowed for easy repositioning. Then I put them in the frames, hung them, and called the girls to come see.


The squeals I received were worth the bandaided finger...

Just gorgeous!
ReplyDelete